Important: The information presented here is for the use of a qualified, experienced technician. Without the background knowledge which comes with training, you risk doing more damage then good to the copier & also risk your own safety. If you are not willing to take 100% responsibility for your actions, do not use the information posted here. Thank you. Read our conditions of Use for more information.
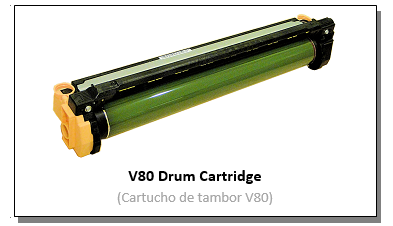
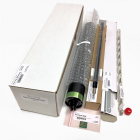
V80 style Drum Cartridge Rebuild Instructions (for: 013R00676)
V80 style Drum Cartridge Rebuild Instructions (for: 013R00676)
| Technical Specifications |
|---|
V80 style Drum Cartridge Rebuild Instructions for Xerox® models: (Versant®) V80, V180, V2100, V3100
Xerox’s new Versant® models are awesome full color Multi-Function Copiers and the Drum Cartridges are a testament of how well built these machines are. These cartridges are clearly designed for long lives and they’re easy to repair or rebuild. You arre going to love these.
The original drum cartridge part number was 13R674 (013R00674) although at the start of 2017, a new part number replaced the first one… 13R676 (013R00676). There are 4 of these cartridges in each machine, one for each color (K,C,M,Y … R1-R4)
The stated yield is a rather optimistic at 348K… but reports from the field say that they rarely make it anywhere near that. I think maybe 280K is a more realistic expectation. Usually they fail because of copy quality issues before the drum count actually comes up. The limiting factor seems to be wearing out of the charge roller’s surface. The yield information is also clouded a bit by the fact that the higher the number of average copies/ prints per job, the longer the yield is extended. The stated yield is based on the machine running at least 26 pages per job on average. If you were to run shorter average copy / print jobs, the machine would call for new cartridges a lot earlier.
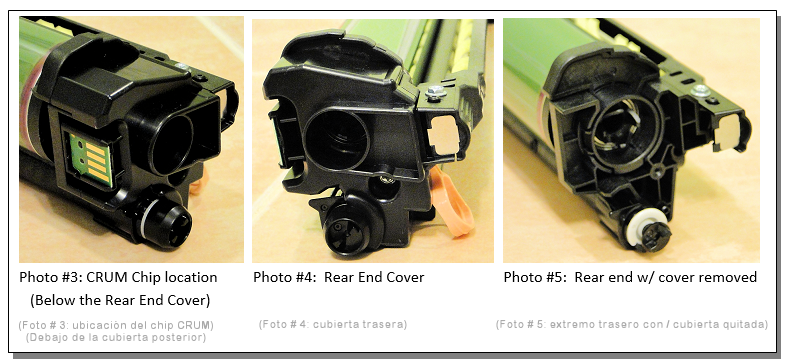
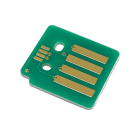
The cartridge is pretty basic… an OPC Drum (photoreceptor) charged by a PCR (Charge Roll) which gets cleaned by a foam Cleaning Roll… and a Drum Cleaning Blade and a nice solid plastic waste auger to move the waste toner away through a waste toner shutter where the toner leaves the cartridge to drop into the waste toner system. There is also a typical CRUM chip (Customer Replaceable Unit Monitor) which keeps track of the copy count.
The foam Cleaning Roll is a bit different. Earlier machines had solid foam all the way across, but these newer ones have a spiral design to them, presumably to reduce the contact surface area with the charge roll to reduce wear and increase the yield.
The parts for rebuilding these are just coming to light now and by the end of the summer a complete rebuild kit should be ready to roll.
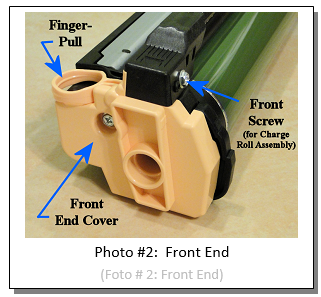
Rebuilding these turns out to be refreshingly straight forward. The only tool you’ll need will be either a Philips head screwdriver or a 5.5mm nut driver.
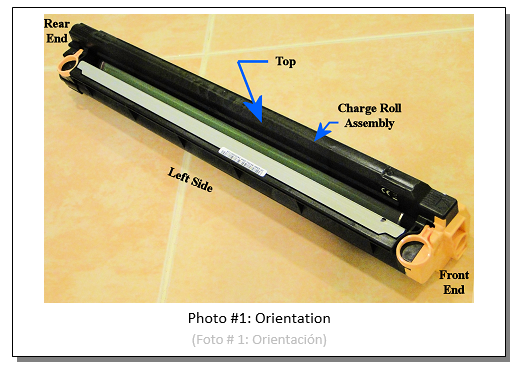
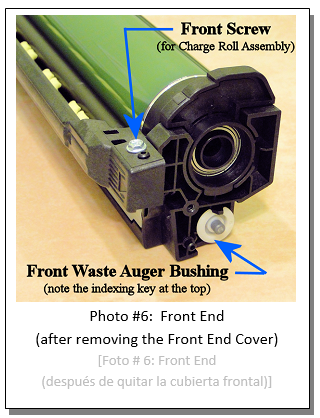
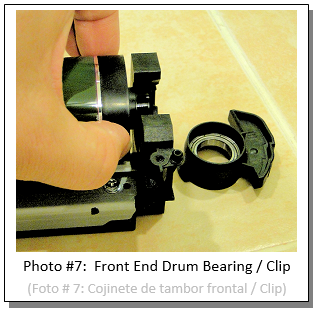
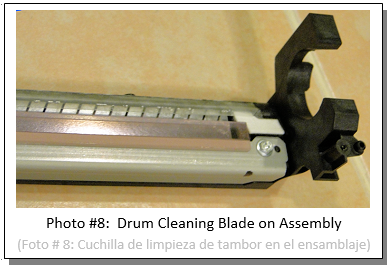
PROCEDURE (to get oriented see Photo #1)
That’s all there is to it! Nice and simple. The Versants will eventually replace the entire line of DocuColor 250 style machines… good to see they are their equal or possibly even better in some ways. Happy cartridge rebuilding everyone! |
| Information Reference |
Written by our own Britt Horvat and first published in the wonderful ENX Magazine (www.enxmag.com) |

