Important: The information presented here is for the use of a qualified, experienced technician. Without the background knowledge which comes with training, you risk doing more damage then good to the copier & also risk your own safety. If you are not willing to take 100% responsibility for your actions, do not use the information posted here. Thank you. Read our conditions of Use for more information.
550/560/570 Fiery Enablement Information
| Technical Specifications |
|---|
For Xerox® models: Color 550, 560, 570, C60, C70 Enabling the Printer to communicate with the Fiery Network Controller
If you want to install a Bustled Fiery on a machine which was originally configured without one, you need to do a few things before the machine will talk to the Fiery. If you don't do these things, the Fiery button on the machine will not appear or may seem "grayed out". First... TCPIP settings need to be configured as follows: From the machine's UI (User Interface / Control Panel), login as System Administrator, press the "Machine Status" button and then choose the "Tools Tab" on the touchscreen. Look for "Connection & Network Setup" followed by "Protocol Settings" and here are the correct settings: - IP Address Resolution needs to be set to "Static"
In order to communicate with the machine, your laptop's IP address has to be almost the same as the Printer's IP address. Set the laptop up with IP Address: 100.100.100.102 and make sure the Subnet Mask matches that of the printer (255.255.252.0). Connect your laptop via network cable (Ethernet cable) directly to the Printer, open a browser, and browse to the printer's IP address.
Look for a button which says "Xerox® Centreware®" near the bottom right corner of the page (you may need to scroll down to see it). You will be prompted to login. The default login name is 'admin' and the default password is '1111'.
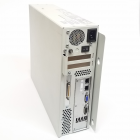
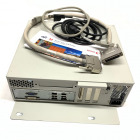
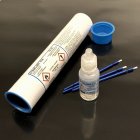
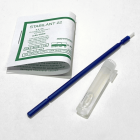
Turn the printer off and connect the Fiery (make sure the Printer Interface Cable and the Crossover Ethernet Cable connections are in good shape (We'd recommend that you use some Stabilant 22 here). Double check the Service DIP switches on the Fiery to make sure they are in the "off" position. Now reboot the printer (the Fiery will also reboot). The Fiery logo should be visible after this is all set. |
| Information Reference |
| Thank you to a kind Field Technician who explained this tidbit to us. |


